How To Use A Whetstone

Keeping your knives sharp is very important, as dull knives are not only much less enjoyable to use, but also far more dangerous than a sharp blade. Regular sharpening also helps to keep your knives in good condition so that they will last you longer.
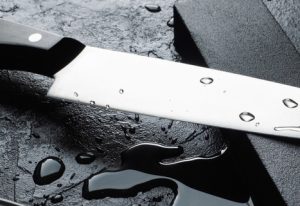
Using a whetstone to sharpen your knives is a gentle and effective way to maintain their edge. It can be a challenge if you are just starting out, and there are a few things you need to learn, but it is much cheaper than taking your knives to be sharpened professionally, and once you master it you’ll be able to get a perfect blade within a few minutes.
There are other methods of sharpening knives, but most of them grind away more of your blade than you need, so using a whetstone can help to prolong the life of your knives. With that in mind, we thought we would put together this guide to help you get to grips with it yourself.
In this guide:
- The Intro
- What you’ll need
- Method
- Bear in mind
What you’ll need
You’ll need to get set up properly to sharpen your knives, so here is what we recommend you’ll need.
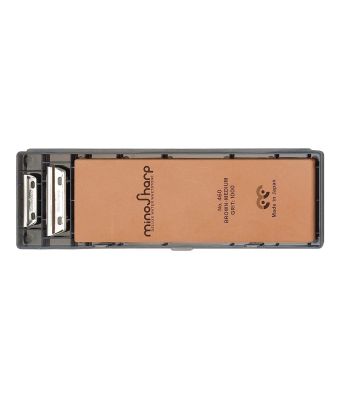
- Whetstone
- Stone holder
- Plenty of space and good lighting
- Water and a clean cloth
- Any knives you own that need sharpening
Method
Soak your whetstone in water for around 5-10 minutes, or until it stops bubbling. Once it stops bubbling, it means that the stone has absorbed the ideal amount of water. The water will combine with small particles released from the stone, which are abrasive and facilitate the sharpening process.
Place your stone into a stone holder or on a slip-proof surface to make sure that you don’t slip. Keeping the stone steady will make the whole process much easier and safer.
Lay your knife flat on the stone, and raise the blade to the required sharpening angle needed. This is usually between 15-20º, and it is important to make sure that you use the same angle when sharpening each side of your blade.
Hold the edge of the knife in place with your fingers, and draw the blade over the stone back and forth away from and towards the body, using even pressure. Repeat the motion around 10 times, or until a fine edge has developed on the knife. This is called the burr, and it is formed from the metal that has been removed from the blade. Once you feel the burr, switch your blade over and repeat the process on the other side of the blade.
Finish by removing the burr, which you do by repeating the same motion but with less pressure than before. You might also want to use a sharpening steel to hone the blade afterwards.
To test whether your blade is sharp enough, try cutting a piece of paper, or a tomato. If your blade cuts through easily and cleanly, you have a nice sharp knife! You’ll then want to gently rinse off the knives in hot water, and rinse the whetstone to remove the grinding residue.
Things to bear in mind
So that’s the basic method for sharpening your knives using a whetstone explained, but there are a few things you should bear in mind. We’ll run through a few of them to finish.
Whetstones come in different grit finishes. Many are double sided, with one side more coarse, and the other finer. With these stones you will want to start on the coarse side first, and then finish off sharpening your knife on the other, smoother side.
Most whetstones are supposed to be used wet, but there are some that should be used dry, so be sure to check the manufacturers instructions when shopping around and before using one.
We hope that this has given you a better understanding of how to sharpen your knives properly yourself at home using a whetstone! Check out the range of whetstones that we sell here at Kitchen Knives here.

